|
What is LON-CAPA? Who is LON-CAPA? Documentation Installation Scholarship Developers Events |
|
The LearningOnline Network with CAPA |
|
| Home > Documentation > Step-By-Step Guide for Basic Course Setup | |
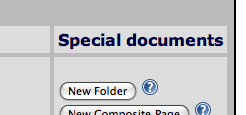
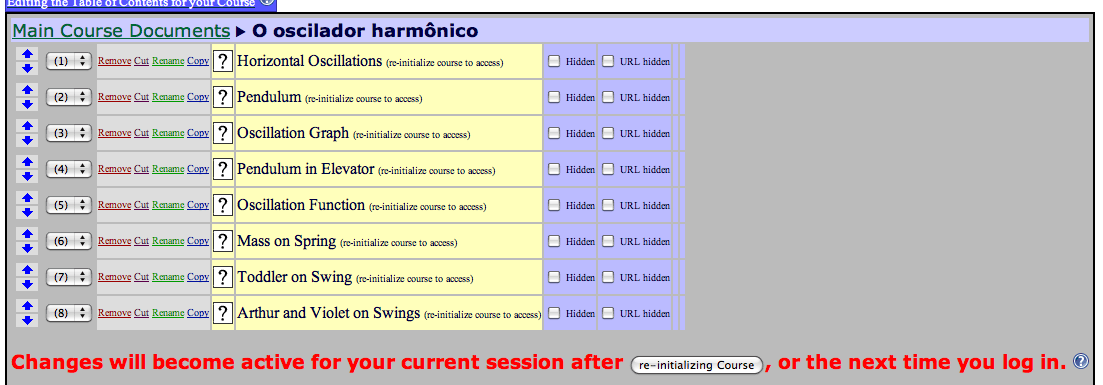
Step-By-Step Guide for Basic Course SetupThis step-by-step guide shows some basic operations when setting up a new course. These do not necessarily need to be done in the order shown, and you can almost always change things later, repeat steps, or do things in more than one way. This guide is just meant to get you started. Setting Up the Basic Course StructureThe basic course structure deserves some attention. Frequently, people structure there course to align with their syllabus and make folders for each topic in sequence. In this example, we do just that. Note: it is important to get this right and spend some thought on this initial setup. Since in LON-CAPA, the gradebook is coupled to the course structure, it is relatively hard to move around things later. For example, it is hard to split the contents of a folder into two folders later, or vice versa.To change the contents of your course, use 'Edit Course' Then set up folders using 'New Folder' You get a window to name your folder This name can be changed or corrected later, using 'Rename' You can also change the order of the folders, using the blue arrows or the pull-down menus with the numbers If you now click on one of the newly created folders, they are of course still empty Importing Resources
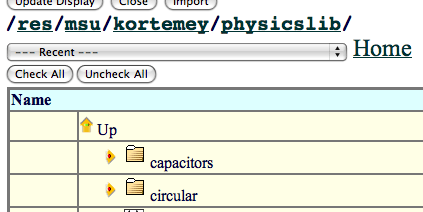
You can upload your own content directly, search for content, or browse for content. In this example, we just browse, using the 'Import' button.
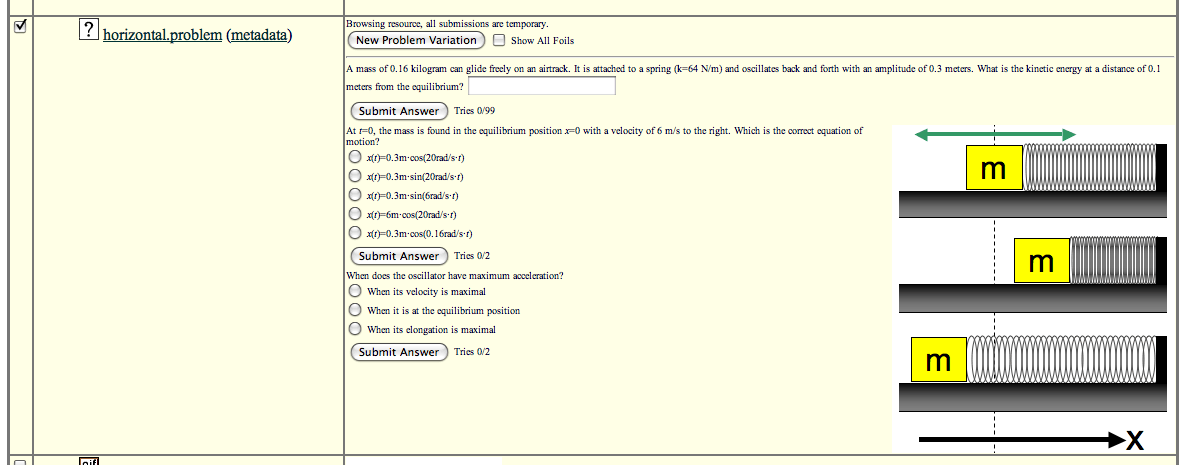
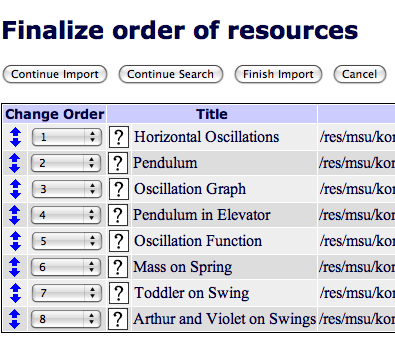
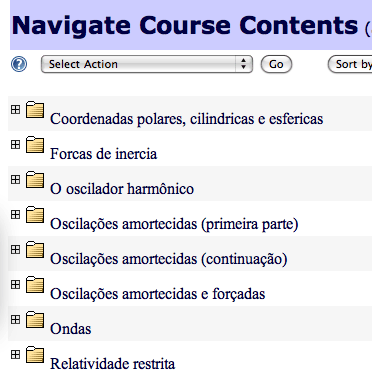
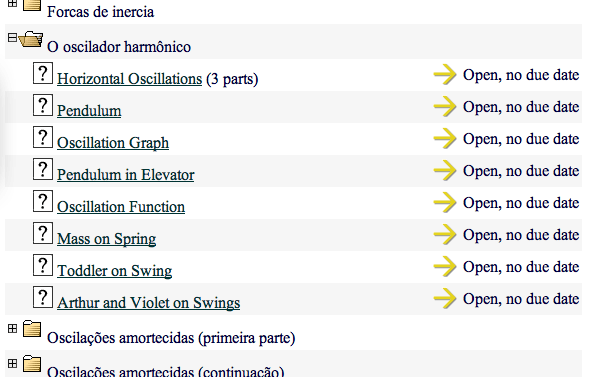
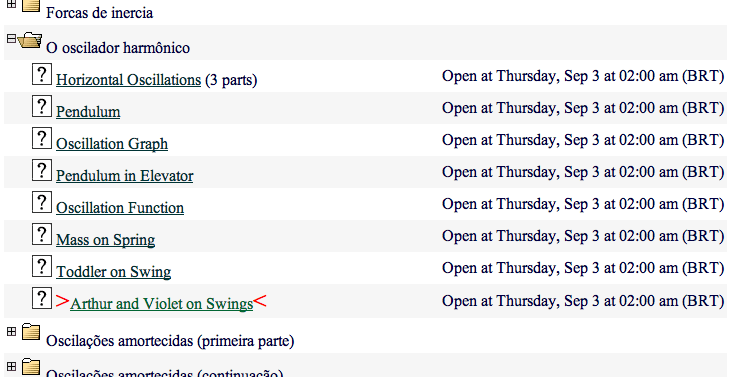
The Import screen comes back where you last left off, but when first setting up the course, this is likely the top-level of the content pool. You can see all of the institutions participating in the network. You can flip them open by clicking on the arrow, or open the institution by itself when clicking on the server symbol (which may be a better idea to not clutter up your screen). You can go down several folders to the individual author and folders. It's a good idea to check the box 'Show Resource,' so in an additional column, you can see each piece of content. You select the material you want by checking the boxes on the far left (you can change subdirectories as you go). When you are done selecting content, click 'Import' You get an additional screen where you can sort your content before importing it. Click 'Finish Import' when you are done Your folder may then look something like this: You might have already noticed the 'Re-Initialize' button. You do not need to use this all the time while assembling your course, but you do need to press it eventually if you want to see the result of your work in your current session. For example, after pressing 'Re-Initialize,' your content assembly is reflected in the 'Navigate Content' screen. Our work from a minute ago looks like this: When you flip open the folders, you see their content: Setting Due Dates, etcYou probably already noticed the resource listing says things like 'Open, no due date' (or 'Not assigned,' depending how your course was set up).
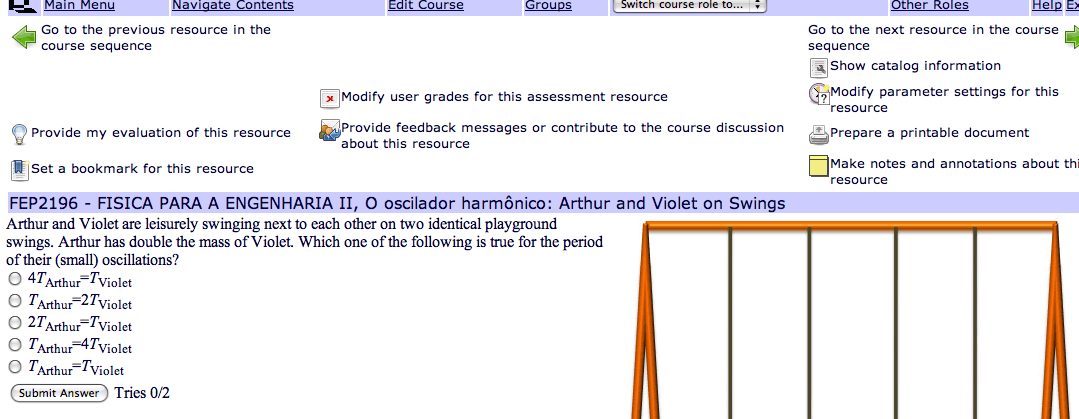
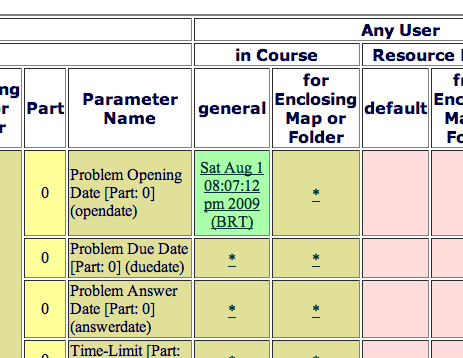
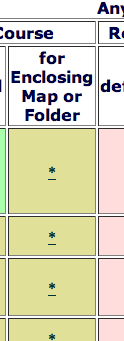
Go to a problem you want to set these parameters for. Click 'Modify parameter settings ...' You get a screen showing all the things you can set in the rows, and all the levels at which you can switch it in the columns. Details of this are explained in the manual, for now we just concentrate on the folder level:
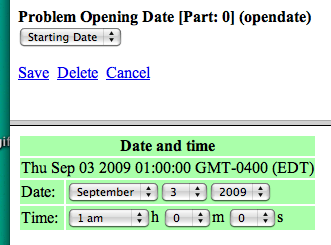
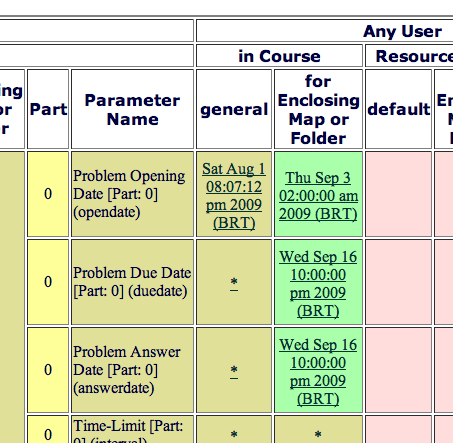
You can click on the asterisks to set things in a separate window: When done, press 'Save.' After you are done, your screen may look like this. Whatever is green is what's active. You can now see the parameters on the 'Navigate Screen:' |
|
Contact Us: lon-capa@lon-capa.org Site maintained by Gerd Kortemeyer. |
|
| ©2013 Michigan State University Board of Trustees. | |

